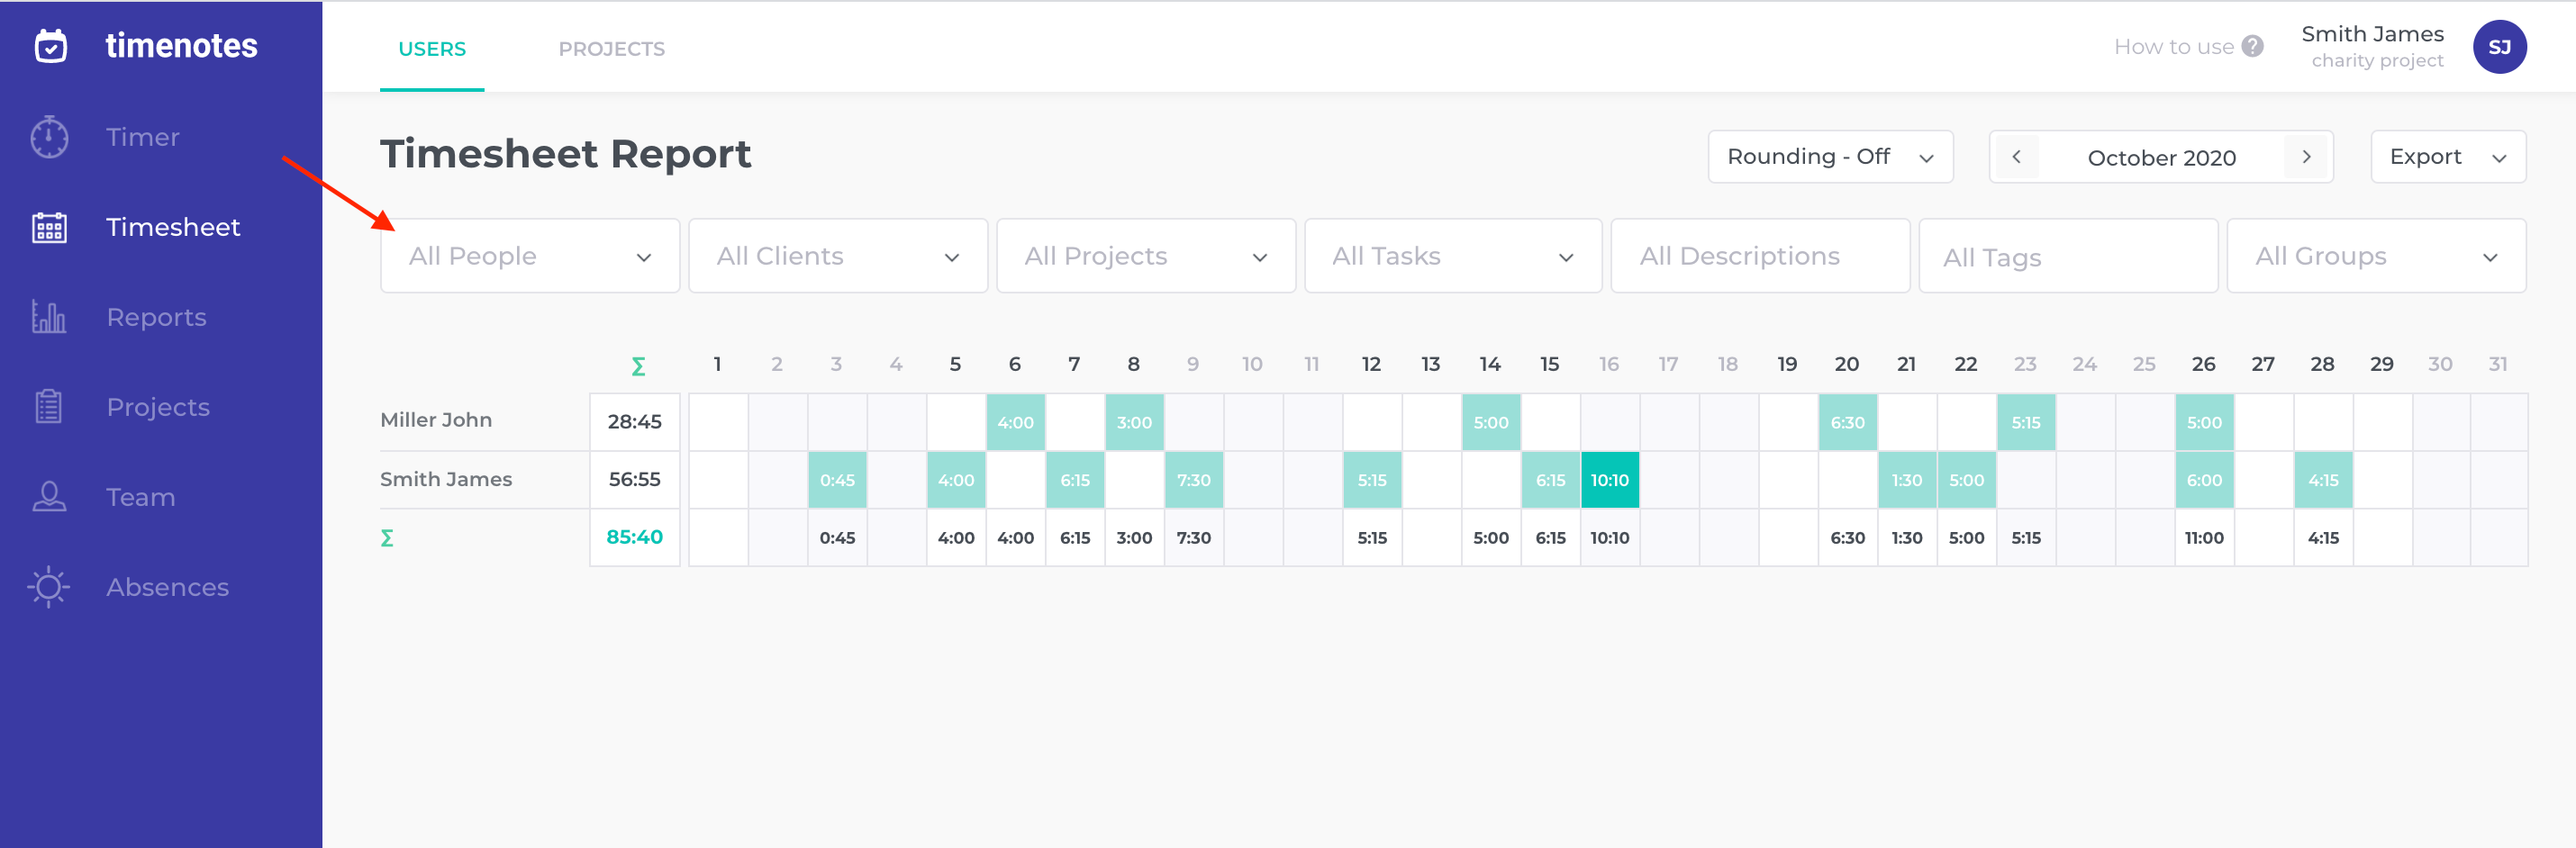
Entering 'Timesheet' section on the sidebar is the best way to immediately find out how much time you or your employees have spent on a certain project. Timesheet can be quickly navigated via keyboard, just open a modal and use top/bottom keys to check data of other users or left/right keys to check time logs of the selected person in different days.
In timesheet, you can also see holidays as icons but only if they are configured to be visible. Check out, how to configure new absence type.
Sections
The 'User' and 'Project' top sections group all time logs per given month and day, assigned to a particular project or user. They allow you to take a closer look and can be used depending on the case of analysing the project or user time tracking volume. By clicking on one of the top sections, you can see more the time logs in a group form.

Filters
Filters located below the sections allow you to decide what will be included in the timesheet report. Just go to a filter and mark members, clients, projects etc. which should be visible.
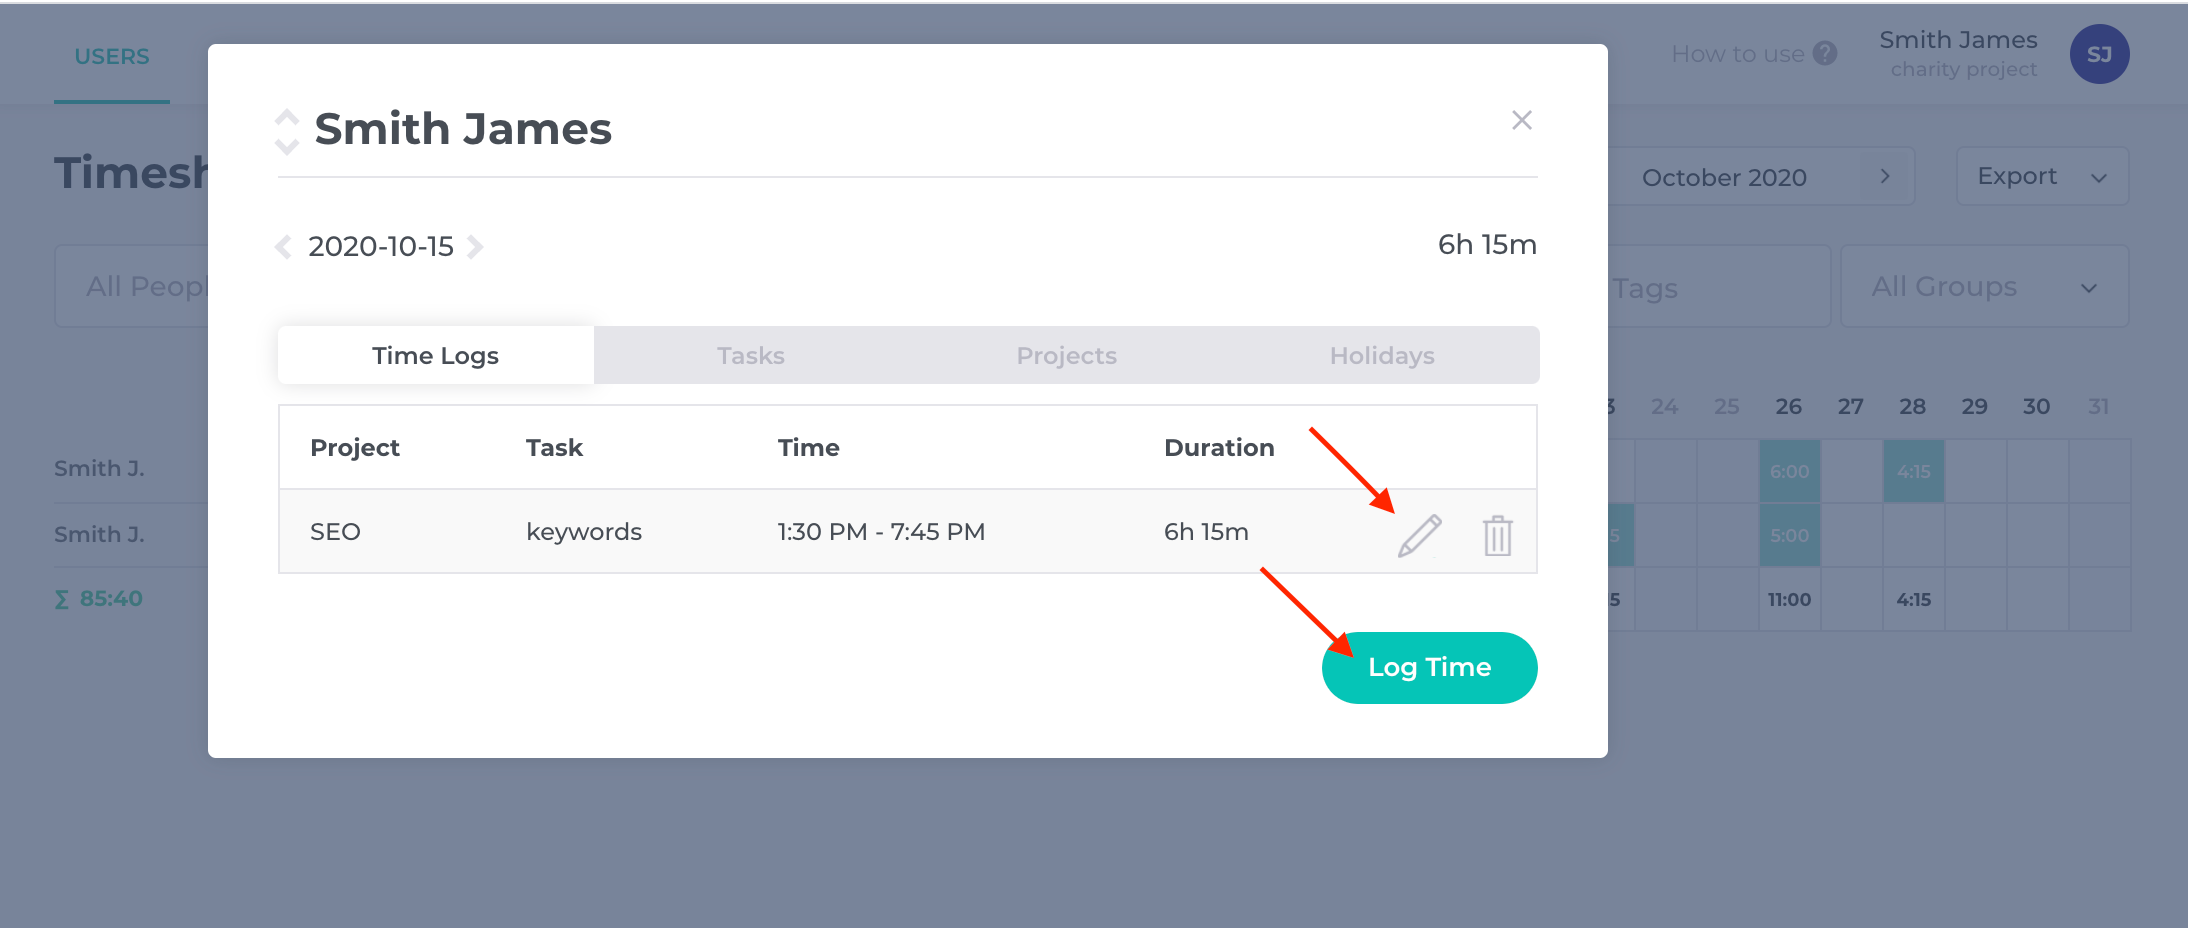
Adding/editing time logs in the Timesheet
To add/edit a new time log click on a field where the name of user crosses with the date, which you are looking for. The button “log time” enables adding completely new time entries. If you want to edit the time log which already exists, move the mouse over at, click on the pen icon, edit and save. Remember that an only administrator is entitled to see and edit time logs of all user, a standard team member is able to see only his own time logs in this section.
Timesheet Reports
In 'Timesheet' section on the sidebar, you easily generate reports. Thanks to filters located on the top of the website, it is possible to customize settings and analyse the information quicker. You can mark whether you want to include all people, clients, projects etc. or just a part of them. Also, pay attention that you can set a time-range for your report. After your report is ready, select Export (on the top right corner) and choose CSV or XLS file.