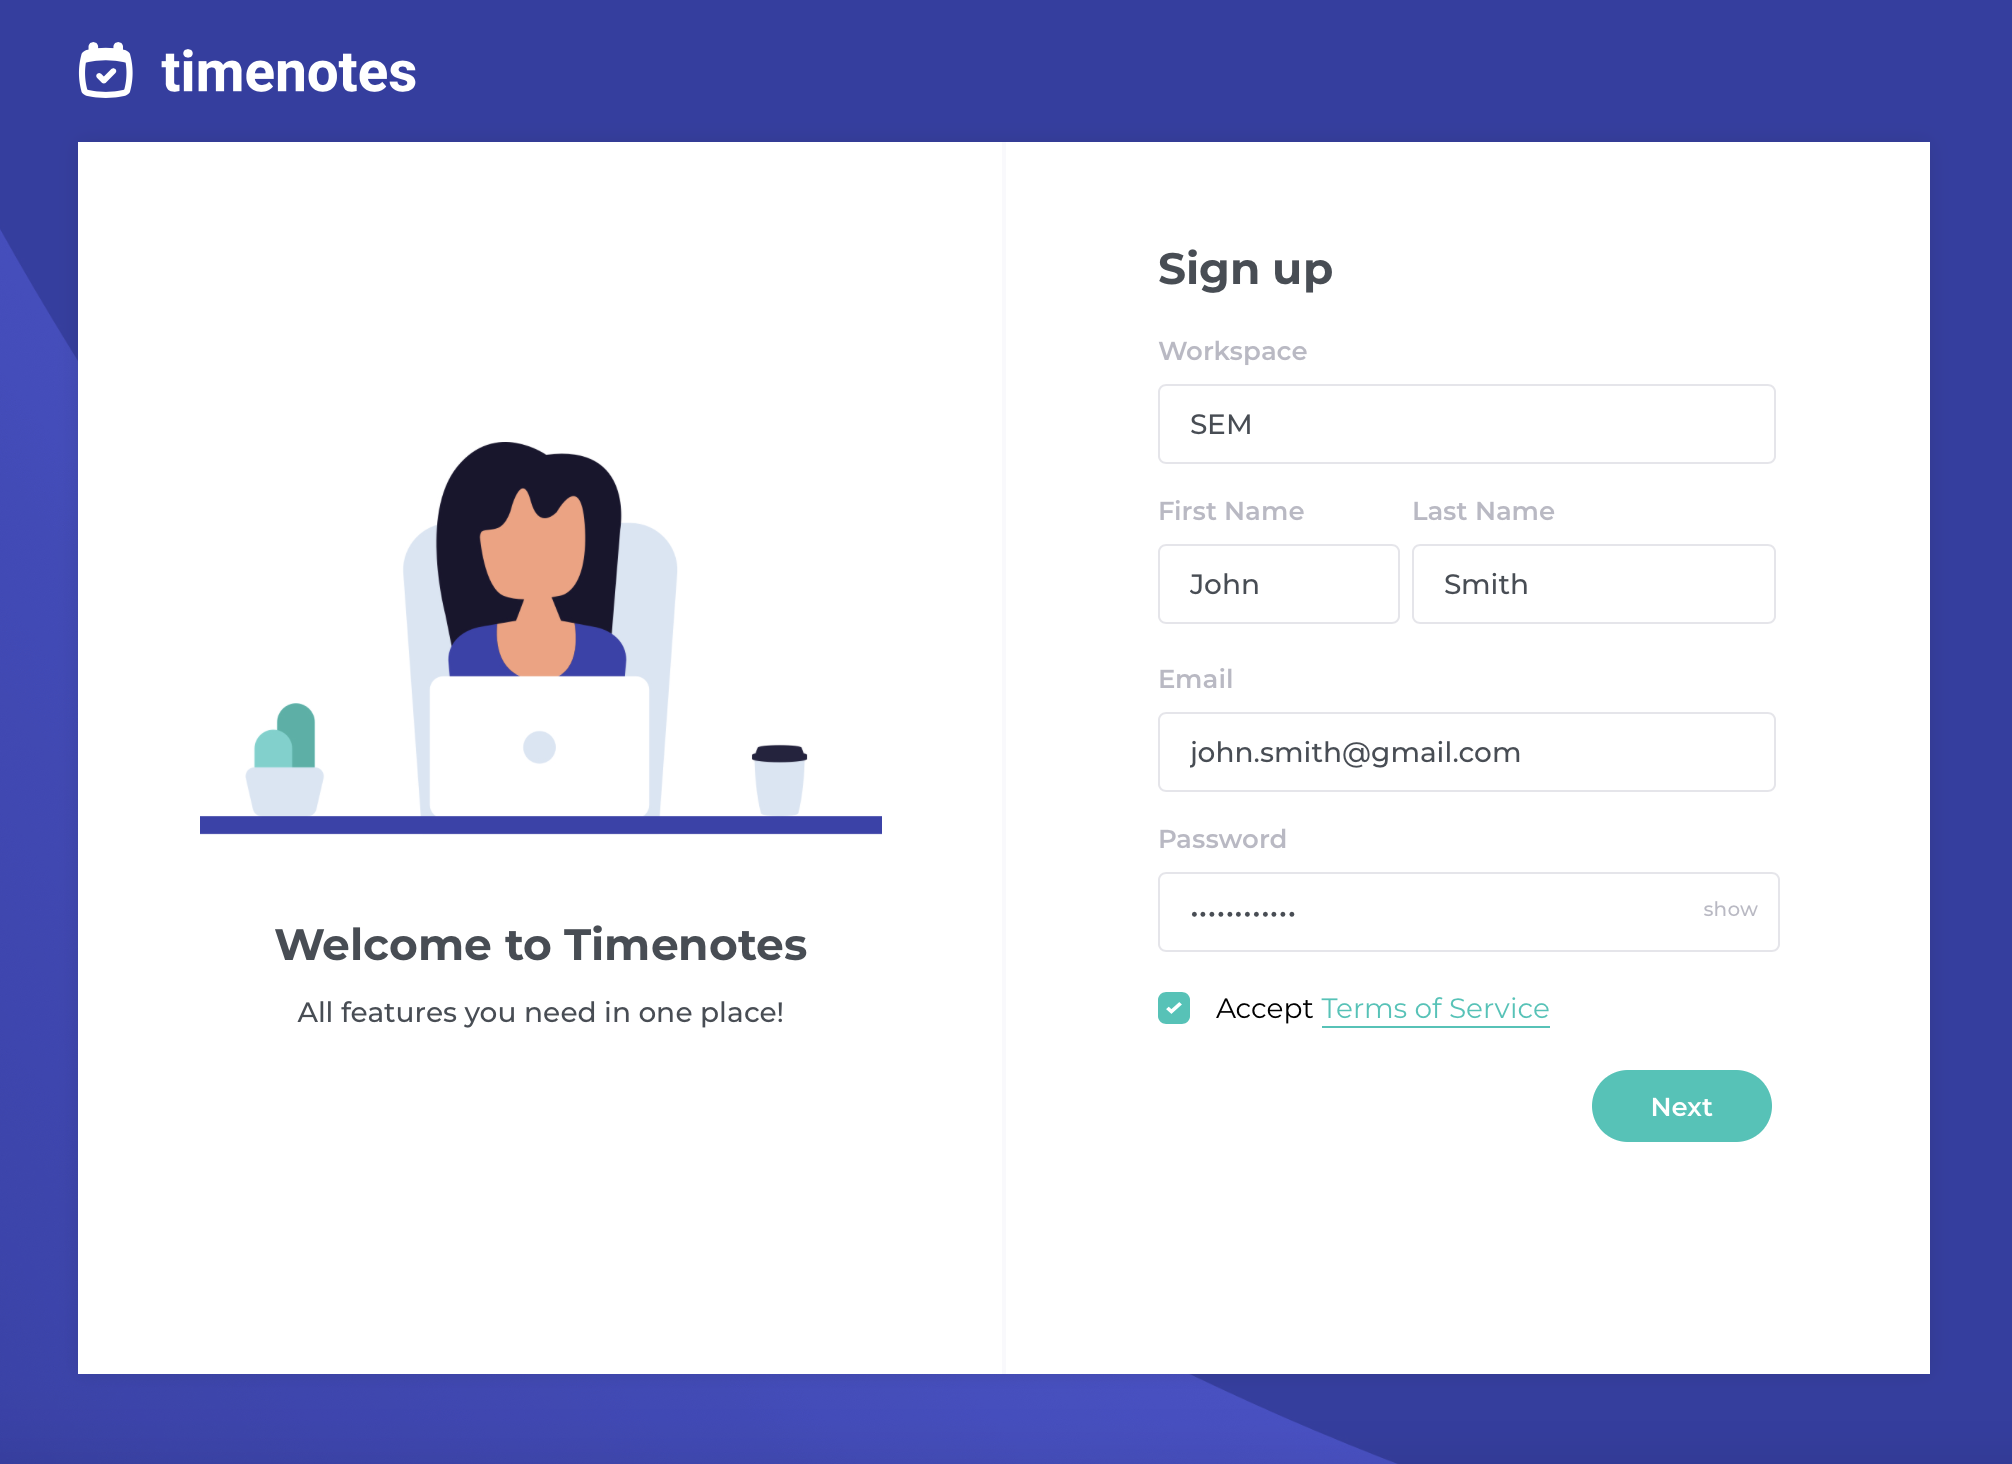
Step 1: Sign up
Create a new account to start working with Timenotes. We need just a few basic data from you: email address, first and last name, password. In this step, you can also name your workspace. After that, you will be automatically taken to the software.

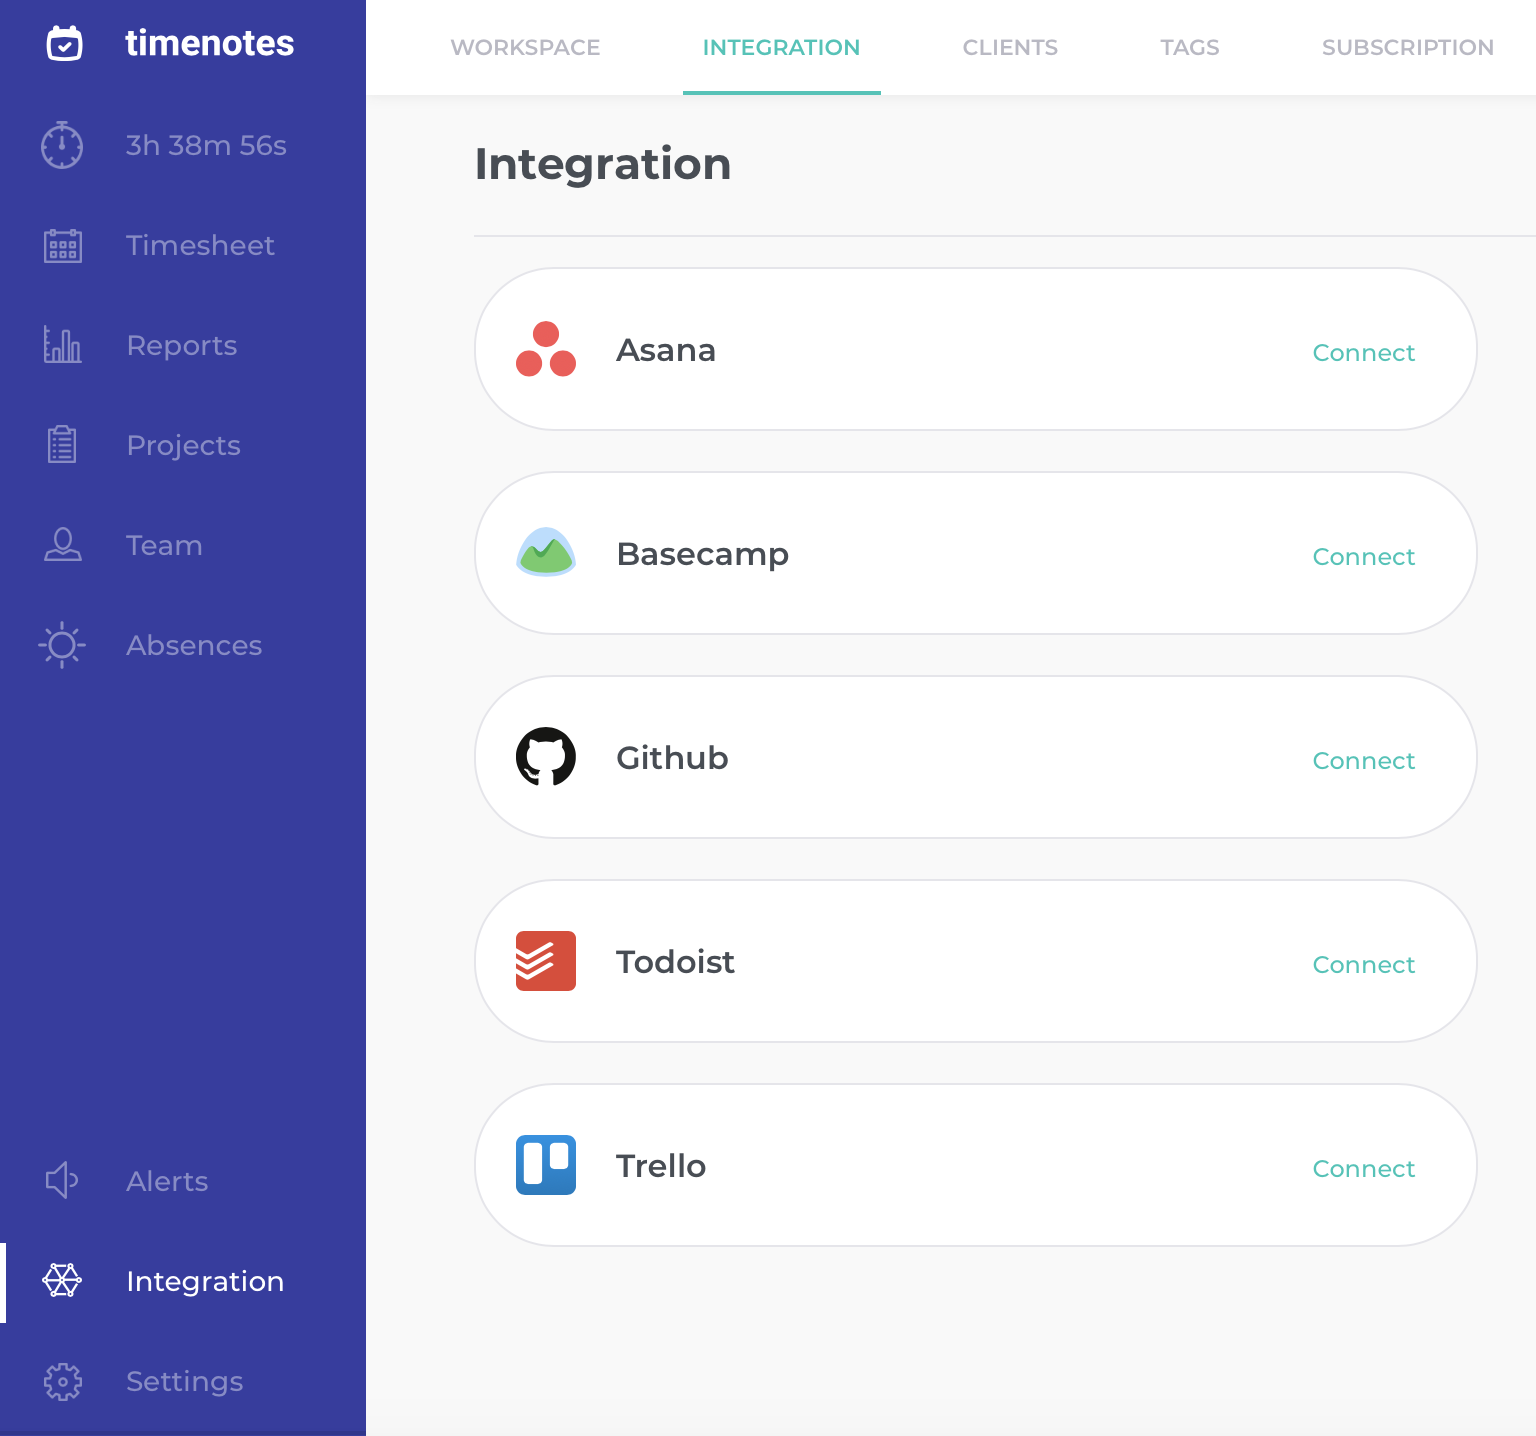
Step 2: Integrate (optional)
If you work with Asana/Basecamp/Github/Todoist/Trello, integrate it with Timenotes. All your information from the above services will be automatically added to Timenotes. Remember, to make the integration fully work, you should install Google Chrome extensions.

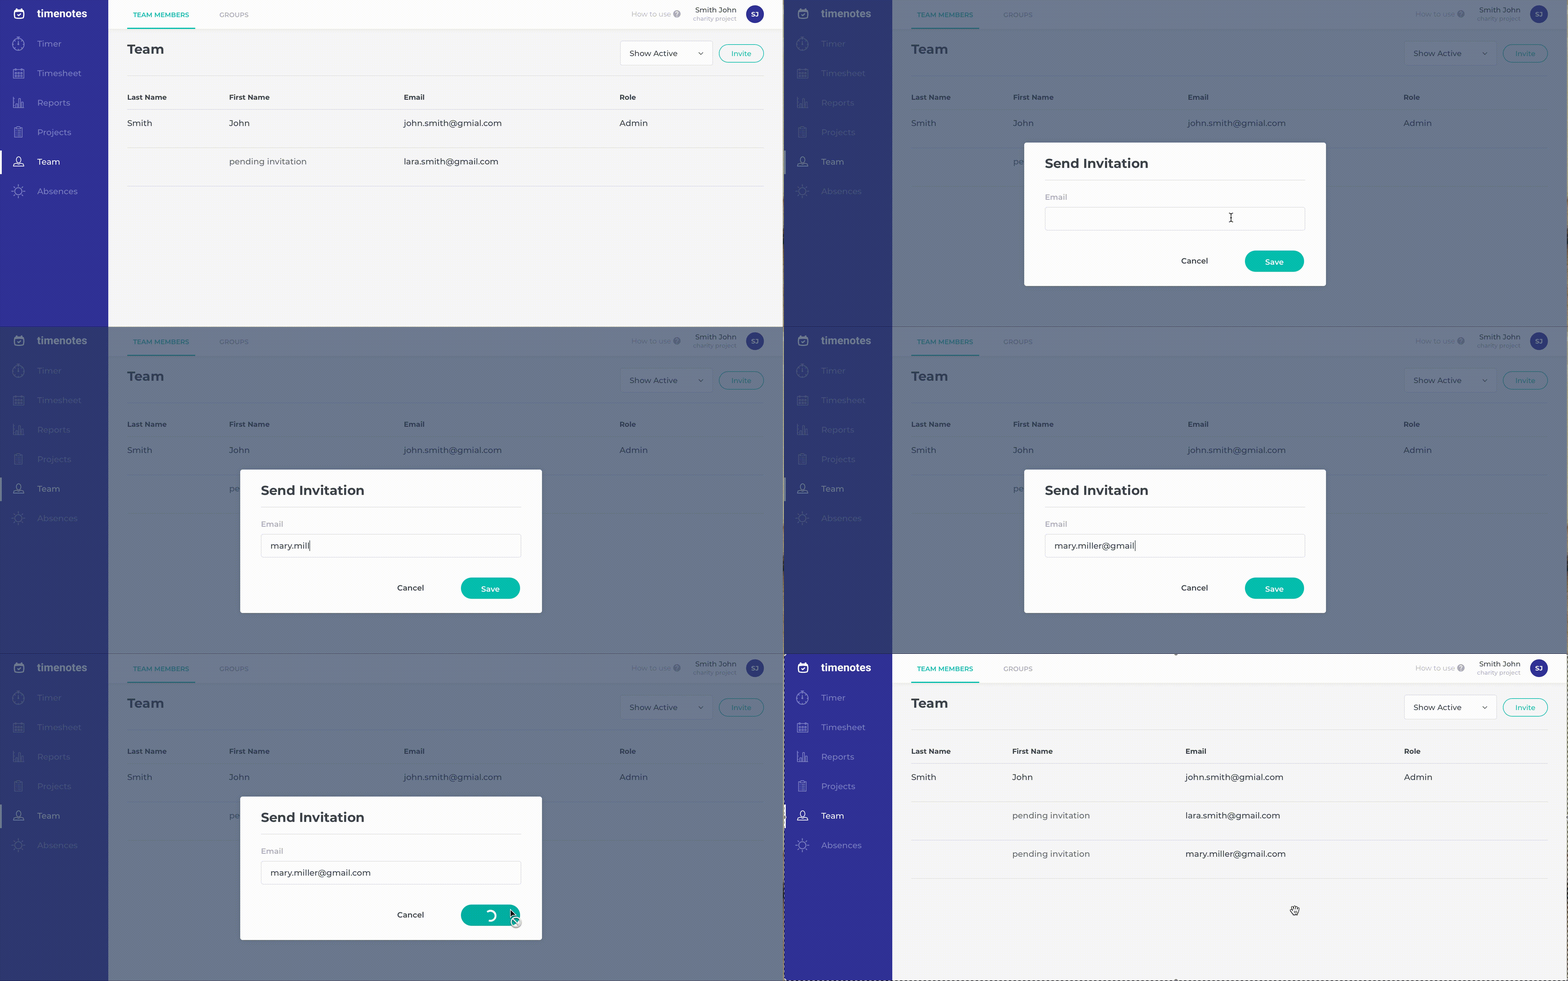
Step 3: Add team members
Click the "Invite" button in the team section and enter email addresses of your employees to send them activation links. As long as the invited member does not accept the invitation, you will see it as pending. After they click on the link and set up Timenotes accounts, they will get access to the workspace, public projects and will be able to edit their data in 'Team' section on the sidebar.

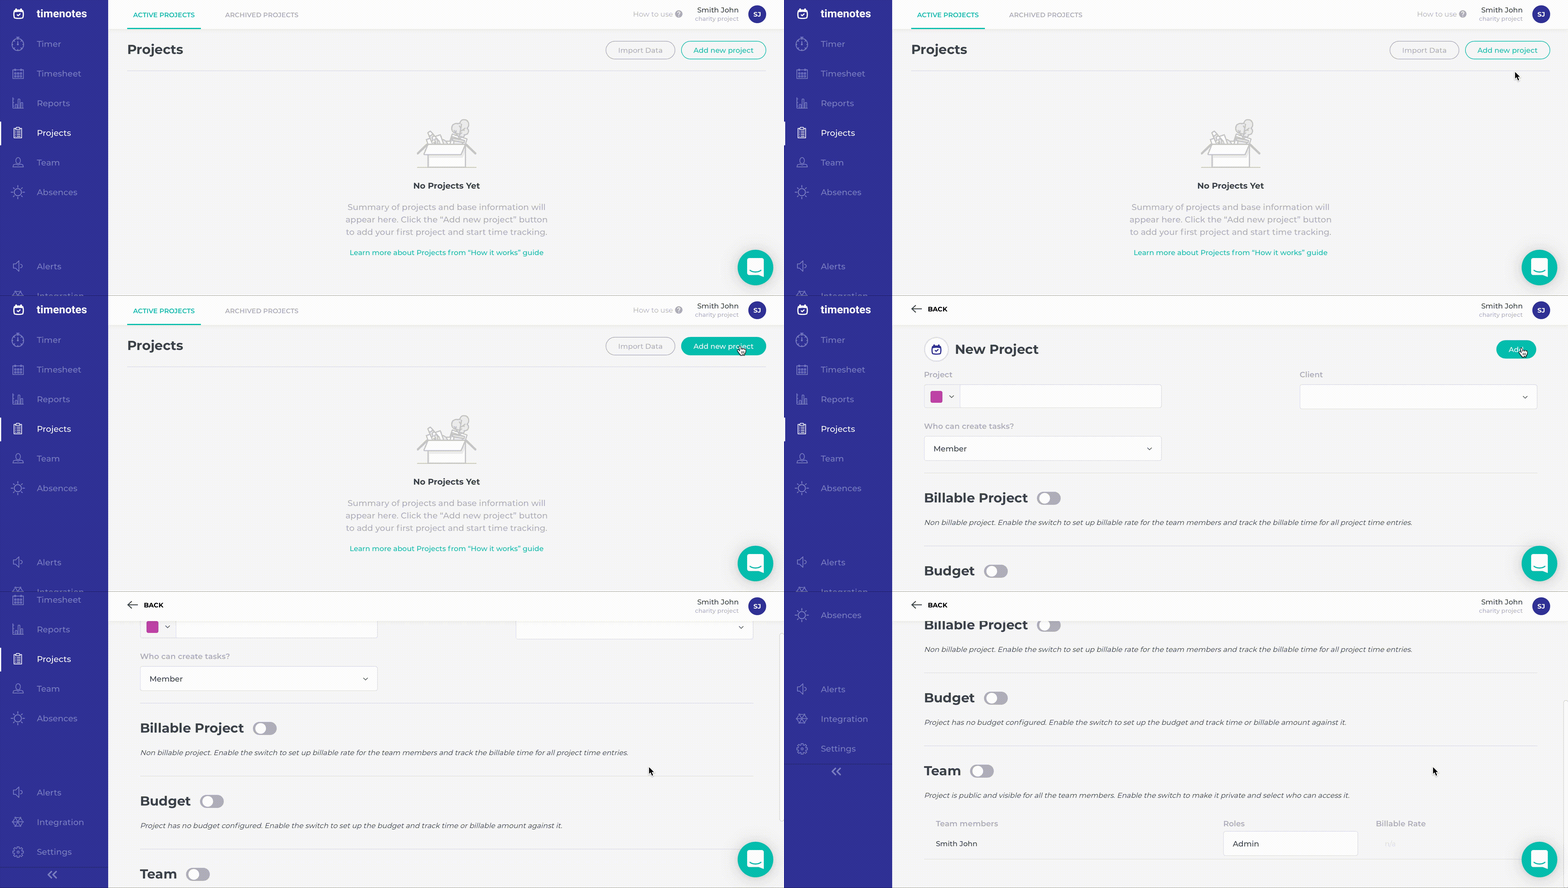
Step 4: Add projects
Create projects on which you are working and fill in necessary information about them. In this step, you can also assign team members, add tasks and clients to a particular project. After saving the project, you can always come back and edit it. Tasks can be also added in the process of the project by you or your team (admin can decide whether other members are allowed to add tasks to a specific project or not). If you integrate Timenotes with other applications, you do not need to add projects manually, everything will be added automatically.

Step 5: Ready to work
Congratulations! After completing the above steps, you are ready to start managing time and tasks with Timenotes!
How to connect and configure Trello integration